
 EN
Common Garden Shredder Problems and Maintenance Solutions
A garden shredder is at its most useful just after pruning, when there is a mixed pile of twigs, stems, leaves, and hedge cuttings waiting to be reduced. It is also the moment when jams, slow feeding, and rough cutting tend to show up. A calm troubleshooting routine can often prevent a minor interruption from becoming a damaged cutter or an unsafe repair attempt.
As a garden-machinery technical consultant, I start with the material and the machine’s safe operating condition rather than the most dramatic symptom. The question is not simply “Why has my garden shredder stopped?” It is whether the machine is overloaded, blocked, worn, incorrectly adjusted, or affected by a fault that should be assessed by a qualified service technician.
Start Every Garden Shredder Check Safely
Before any inspection, stop the machine and isolate its power source. Unplug an electric model; for a petrol model, switch it off and follow the manufacturer’s shutdown instructions, including disconnecting the spark plug lead where the manual requires it. Wait until all moving parts have stopped. Keep hands out of the feed chute, even when the cutter appears still, and do not try to dislodge material while the shredder is running.
Wear eye protection and sturdy gloves for handling garden waste, but do not use gloves as a reason to put hands near cutting parts. Keep the manual nearby because access panels, reset controls, cutter adjustment, and blade replacement procedures are model-specific. If a safety interlock, guard, cable, or housing is damaged, pause the job rather than bypassing it.
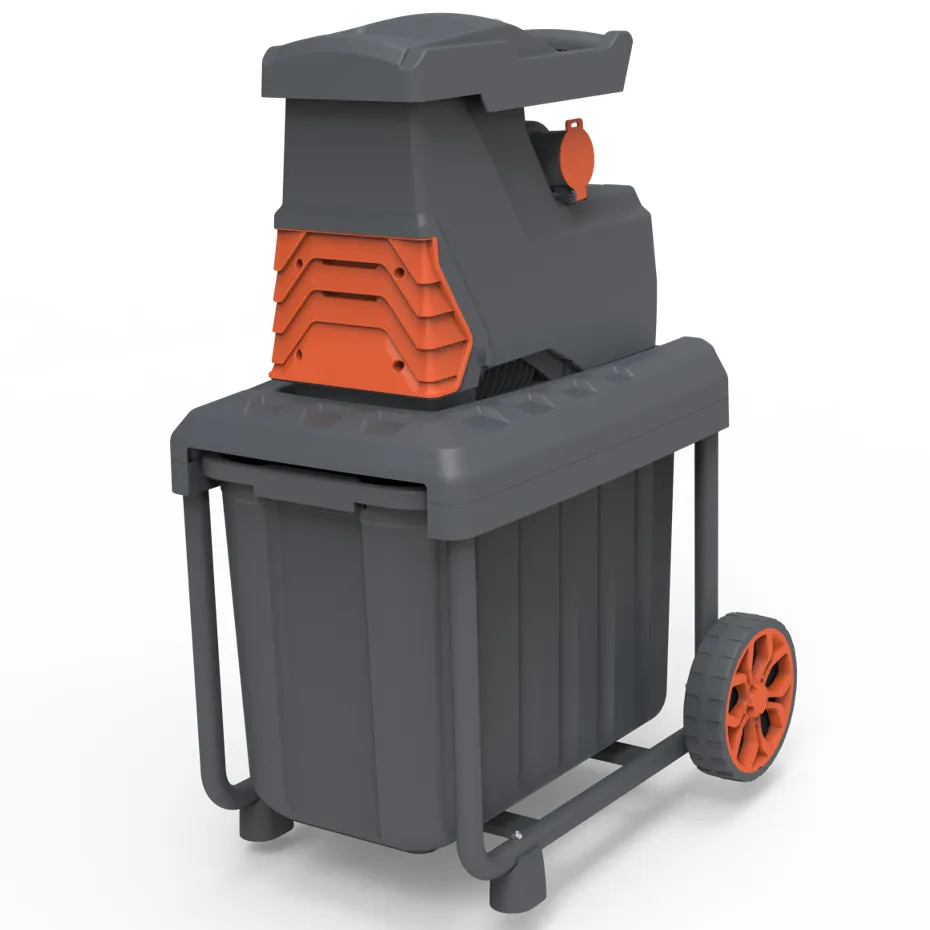
Problem: The Garden Shredder Will Not Start
For an electric garden shredder, begin with the basics: confirm that the outlet is live, the extension lead is rated and undamaged, the plug is seated, and any overload reset has been allowed to cool before being reset. Check that the collection box, hopper, and safety latch are fitted exactly as the manual specifies. Many machines will not start if an interlock is open, and forcing the switch or taping a safety device is not a repair.
For petrol-powered equipment, consult the manual for fuel, oil, choke, and starting checks. Stale fuel, a fouled spark plug, or a dirty air filter can affect starting, but avoid dismantling the fuel or ignition system unless you are competent and the manufacturer permits the work. A burning smell, repeated tripping, damaged insulation, or a starter that will not engage after basic checks calls for professional shredder repair.
Problem: It Hums, Trips, or Stops Under Load
This symptom commonly points to an overloaded feed, a blockage, or material that does not suit the machine’s cutting system. Thick branches, long flexible stems, vines, and wet leaves can bunch together rather than being cut cleanly. Feed one piece at a time, use the supplied pusher where applicable, and keep within the stated maximum branch diameter. “More power” is rarely the whole answer; the right pace and material mix matter just as much.
If the machine stops, isolate it first. Then use only the manufacturer-approved clearing method. Some models include a reverse function or a dedicated release tool; use them only as described in the manual. Do not lever against a cutter, insert a metal rod into the chute, or repeatedly restart a jammed garden shredder. Those shortcuts can damage the mechanism and create a debris hazard.
A useful practical adjustment is to separate wet, leafy material from dry woody prunings. Process dry twigs in small batches and mix in only modest amounts of softer material. If wet waste repeatedly clumps, let it dry where practical or compost it separately. That small change often improves flow more than aggressive feeding does.
Problem: Output Is Slow, Coarse, or Uneven
Reduced output can be an early sign that the cutting system is dirty, worn, or incorrectly adjusted. First, clean accessible debris from the exterior and collection area with the machine isolated. Then inspect the cutter only through the access route approved in the manual. Look for packed fibre, resinous buildup, obvious blade damage, or a worn cutting plate.
On impact-cut models, dull or nicked blades can tear material rather than slice it. Roller-cut machines may need a clearance adjustment between the roller and the counterplate. Both tasks are model-specific: an adjustment that is too tight can cause noise, heat, and damage, while one that is too loose produces poor shredding. Follow the prescribed setting procedure rather than guessing from sound alone.
If the shredder suddenly produces much larger chips than usual, stop using it on tough branches until the cutter condition is checked. Continuing with damaged parts can load the motor or drive system unnecessarily and makes later repair more expensive.
Blade Replacement: When Is It Appropriate?
Blade replacement is sensible when your manual identifies replaceable blades and inspection shows a dull edge, chips, cracks, bending, or damage that cannot be corrected within the manufacturer’s limits. Use only the specified replacement part and the correct fasteners. A similar-looking blade may have different dimensions, balance, material, or torque requirements.
Before a blade replacement, isolate the garden shredder, follow the exact access instructions, and keep track of every washer and fastener. If the machine requires a torque value, use it. Do not improvise with unapproved blades, reshape a cracked blade, or fit a part when you are unsure of its orientation. If access exposes a complex cutter assembly, if a shaft is loose, or if you cannot confirm the part number, book authorized shredder repair instead.
Routine Equipment Care That Prevents Breakdowns
- Before each use: inspect the cable or fuel system externally, guards, fasteners, collection box, and feed area. Clear loose debris with the power isolated.
- During use: feed material steadily, not in dense bundles. Stop early if vibration, unusual noise, or repeated overload occurs.
- After use: remove residual waste from the collection area and wipe external surfaces. Do not spray water into electrical or engine components.
- Seasonally: follow the manual’s maintenance schedule for cutter inspection, lubrication where specified, belt or drive checks, and petrol-engine service items.
- For storage: keep the shredder dry, protected from weather, and stored according to its manual. Deal with fuel storage and battery or electrical precautions exactly as specified for your model.
Equipment care is most effective when it is brief and repeatable. A two-minute inspection before a heavy pruning session is easier than diagnosing a jam after the machine has been forced through unsuitable waste.
When Troubleshooting Should Stop
Some faults are not a home-maintenance job. Arrange qualified service if you find a cracked housing, damaged safety guard, exposed wiring, repeated electrical trips, fuel leakage, smoke, a loose shaft, severe vibration, grinding from the drive system, or a cutting part that cannot be replaced exactly as the manufacturer instructs. The same applies when a garden shredder will not restart after the approved jam-clearing and reset procedure.
Good troubleshooting is not about fixing every issue yourself. It is about recognizing the safe boundary between routine cleaning and maintenance versus a fault that needs professional attention. With sensible feeding, timely cutter inspection, careful blade replacement, and regular equipment care, most garden shredder problems become easier to prevent and quicker to diagnose.
Quick Troubleshooting Checklist
- Stop and isolate the machine before touching the feed or cutter area.
- Check interlocks, power supply or engine-start basics, and the approved overload reset process.
- Match the feed rate and material type to the machine’s stated limits.
- Clear jams only with the method in the manual.
- Inspect cutting parts and adjustment only when safe and authorized.
- Use genuine, specified parts for blade replacement and seek service for safety-related or persistent faults.
 Hot News