
 EN
EN
How to Use a Garden Mulcher to Create Natural Plant Mulch?
Before I invested in a dedicated garden mulcher, I thought a single lawn mower with a collection bag was enough for managing garden waste. It was only when the pile of prunings, leaves, and small branches started taking up half my compost area that I realised some tasks need the right tool. A garden mulcher solves one specific problem exceptionally well: it turns bulky organic waste into finely chipped material that you can apply directly to your beds as natural plant mulch. If you have been wondering whether mulch production is something you can do at home rather than purchasing bags from a garden centre, the short answer is yes — and this guide walks you through exactly how.
What a Garden Mulcher Actually Does
A garden mulcher is a powered machine designed to chop, chip, and shred organic material into smaller fragments. Depending on the model, it can handle thin branches, hedge trimmings, dry or partially green leaves, garden prunings, and general yard debris. The output is a consistent chip or shred that breaks down gradually in the soil, releasing nutrients as it decomposes.
The key difference between a garden mulcher and simply composting raw material is speed and usability. Mulch produced by a mulcher is ready to apply immediately as a surface layer, whereas composting raw branches can take months. If your garden maintenance routine involves regular pruning and cutting back, a mulcher lets you process that material on the same day and return it to the garden as a useful resource.
Choosing the Right Materials for Mulch Production
Not every material in your garden is equally suited for mulch production. Based on what I have seen work consistently well across different garden sizes and climates, the following materials give consistent, reliable results:
- Small branches and woody prunings — Ideally up to the maximum diameter specified in your garden mulcher's manual. These produce a woody chip that is excellent for landscaping paths and under established trees.
- Dry and semi-dry leaves — Leaf mulch breaks down relatively quickly and is ideal for spreading around herbaceous perennials and vegetable beds.
- Hedge trimmings and garden prunings — Fresh green material can be processed but tends to produce a wetter output; mixing with drier material gives a better chip consistency.
- Grass clippings — These can be added in small quantities, but avoid processing large volumes alone as they may compact and block the machine's hopper.
Materials to avoid include diseased or pest-affected plant matter, branches significantly over your machine's rated capacity, and any material that is not organic. Processing oversized branches risks jamming the cutting mechanism and may reduce the machine's service life.
How to Use a Garden Mulcher: Step-by-Step
If you have not yet used a garden mulcher, the process is more straightforward than it looks — but a few preparation steps make a real difference to the quality of mulch you produce.
- Sort and prepare your material. Separate branches by approximate diameter and cut them to lengths your mulcher can accept. Remove any wire ties or non-organic fasteners from bundled prunings. Material that is roughly uniform in size feeds more smoothly.
- Set the chip size output. Many garden mulcher models include an adjustable chip size setting that allows you to tailor the output particle size for your intended use. A finer chip is well suited for spreading around shallow-rooted plants and in vegetable beds; a coarser chip works better under trees and for landscaping paths where slower decomposition is preferable.
- Load the hopper in manageable batches. The guided hopper design on most mulchers channels material toward the cutting mechanism while keeping your hands clear. Feed material steadily rather than forcing large volumes at once — a controlled feed rate protects the cutting mechanism and helps maintain chip size uniformity.
- Direct the output to a collection bag or wheelbarrow. Some garden mulcher models allow you to adjust the direction of the chip output, which is particularly useful if you are collecting material for use elsewhere in the garden rather than chipping directly onto a bed. Position the output chute toward your collection point before you begin to avoid spreading material unnecessarily.
- Allow fresh wood chip mulch to age if needed. Freshly chipped woody material can temporarily draw nitrogen from the soil surface as it begins to decompose. If you are applying wood chip mulch around vegetable crops or recently transplanted plants, a short ageing period of four to eight weeks reduces this effect. For established trees, shrubs, and paths, fresh chips can be applied immediately.
Applying Your Homemade Mulch for Better Plant Care
Once you have produced your mulch, the application technique matters as much as the quality of the material. Research from the Iowa State University Extension recommends a general mulch depth of two to four inches for most garden beds, with coarser wood chip mulches applied toward the higher end of that range and finer materials at the lower end.
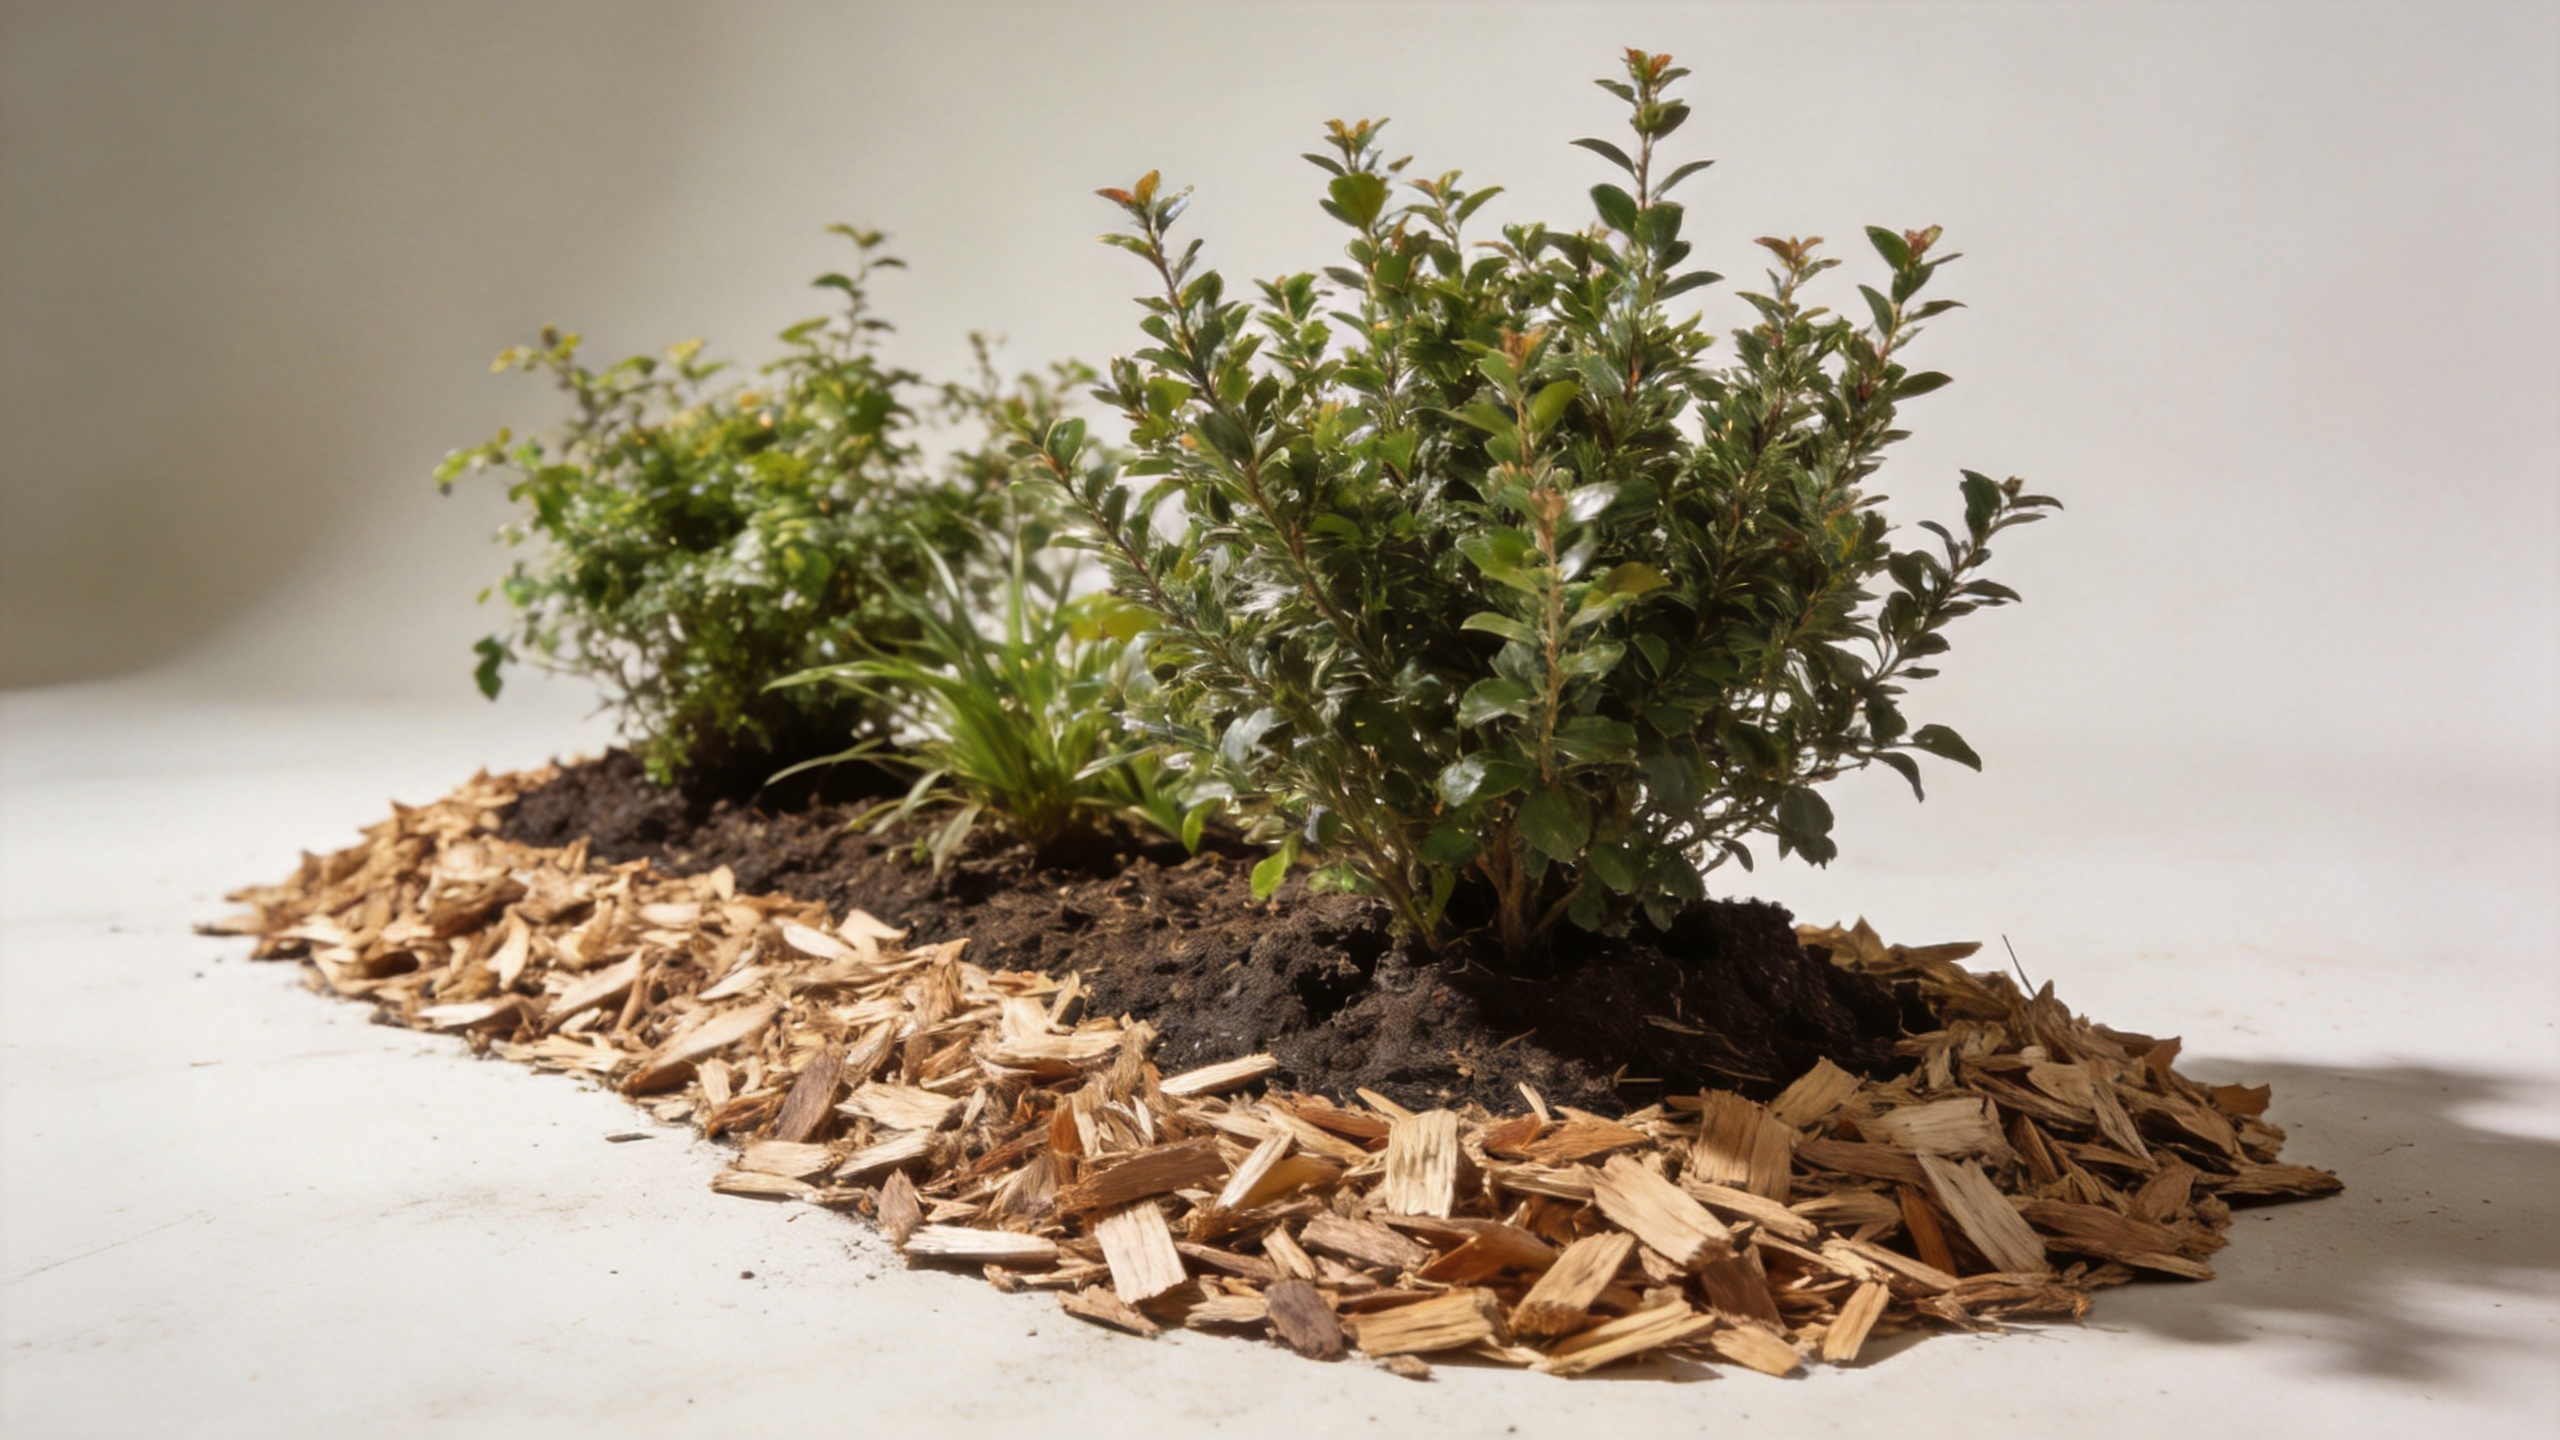
For trees and established shrubs, the Morton Arboretum recommends spreading mulch to three to four inches deep while keeping the mulch layer one to two inches away from the trunk itself to avoid moisture retention against the bark. Extending the mulch ring at least two to three feet out from the trunk captures the area where surface roots are most active. These principles apply whether you are using purchased bark chips or homemade mulch from a garden mulcher.
For garden beds and perennial borders, a two-inch layer of leaf or mixed-material mulch is sufficient to suppress weeds and retain soil moisture through dry periods. The mulch layer also moderates soil temperature, reducing stress on plant root systems during both warm summers and cold winters — a benefit that directly supports plant care outcomes without additional inputs.
Why Regular Mulching Supports Long-Term Garden Maintenance
Incorporating a garden mulcher into your regular garden maintenance workflow creates a closed-loop system: the material you remove through pruning and cutting back is returned to the garden in a more useful form. Over multiple growing seasons, this reduces the volume of waste leaving the garden, lowers the need to purchase mulch externally, and gradually builds soil organic matter as the material decomposes.
Across larger landscaping projects, the efficiency gains become more pronounced. Processing a trailer load of prunings into chip material on-site rather than transporting it for disposal is a practical advantage — and a garden mulcher that handles mixed material types without constant adjustment makes the process manageable without specialist knowledge.
From plant care in a small plot to garden maintenance across a larger property, a garden mulcher provides a practical route to producing natural mulch from what the garden already generates. The process requires some preparation but delivers consistent results once you understand your material and your machine.
 Hot News